What is it
The clock is driving three VGA monitors, each of them displaying two digits from the current time. The clock is DCF77 synchronized (this is a time broadcasting station in Germany), so it always gets the right time.
Hardware
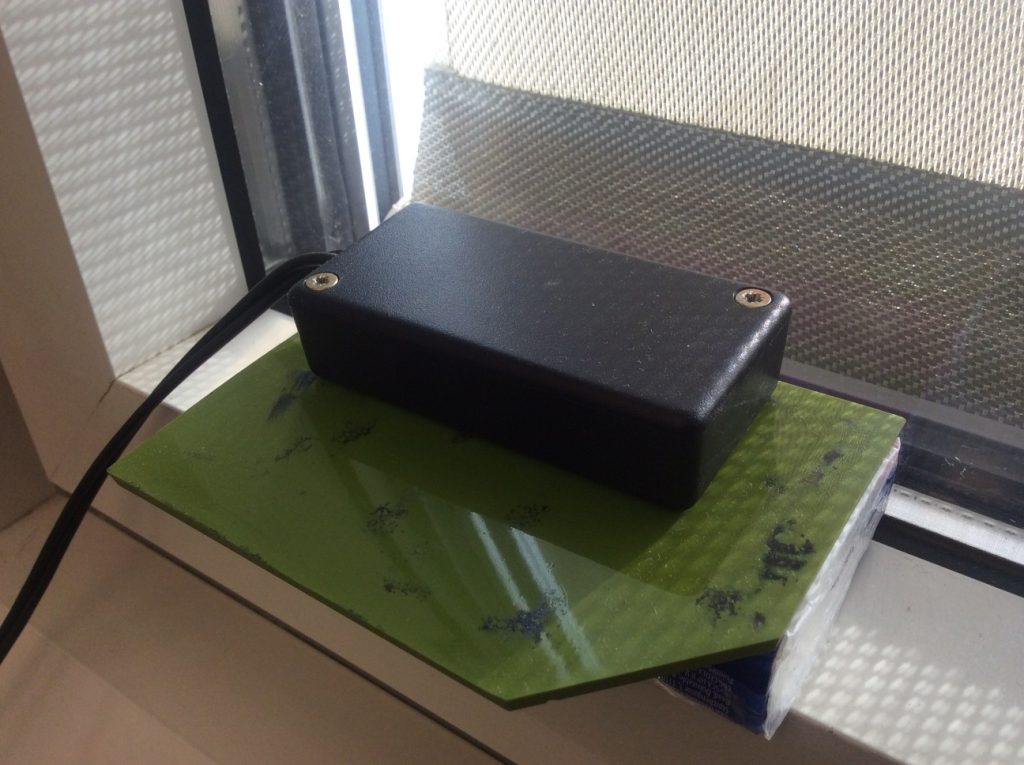
The clock consists of two major modules: three DuinoMite basic boards and a DCF77 receiver by Conrad Electronics (a huge electronics retailer in Germany).
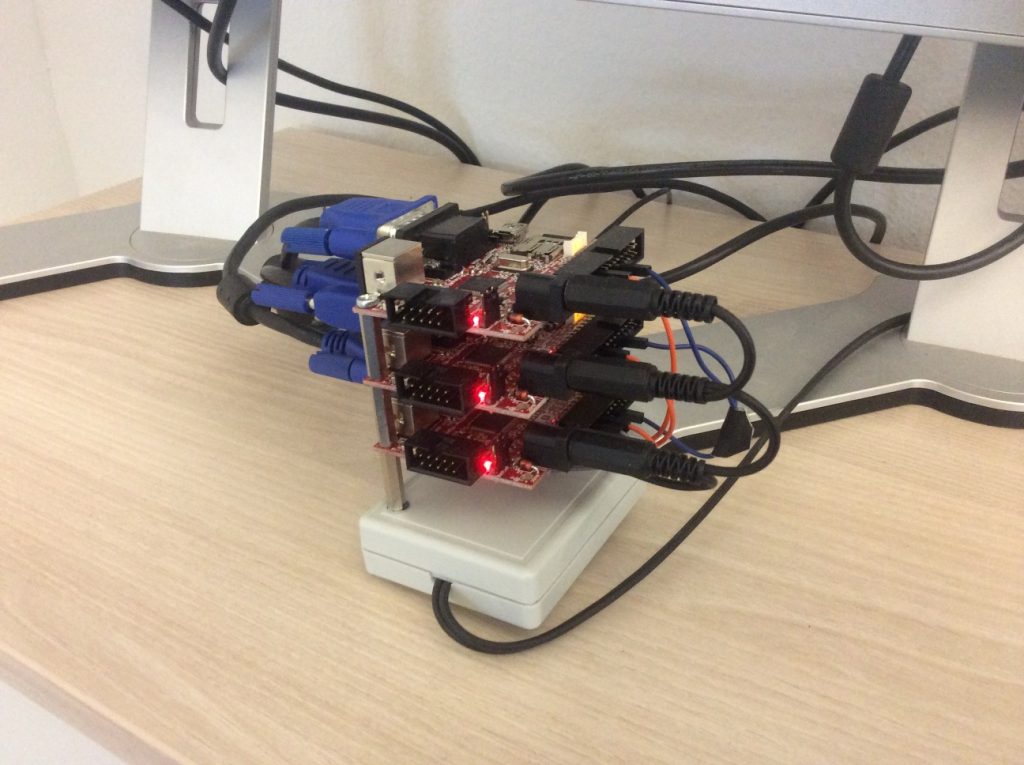
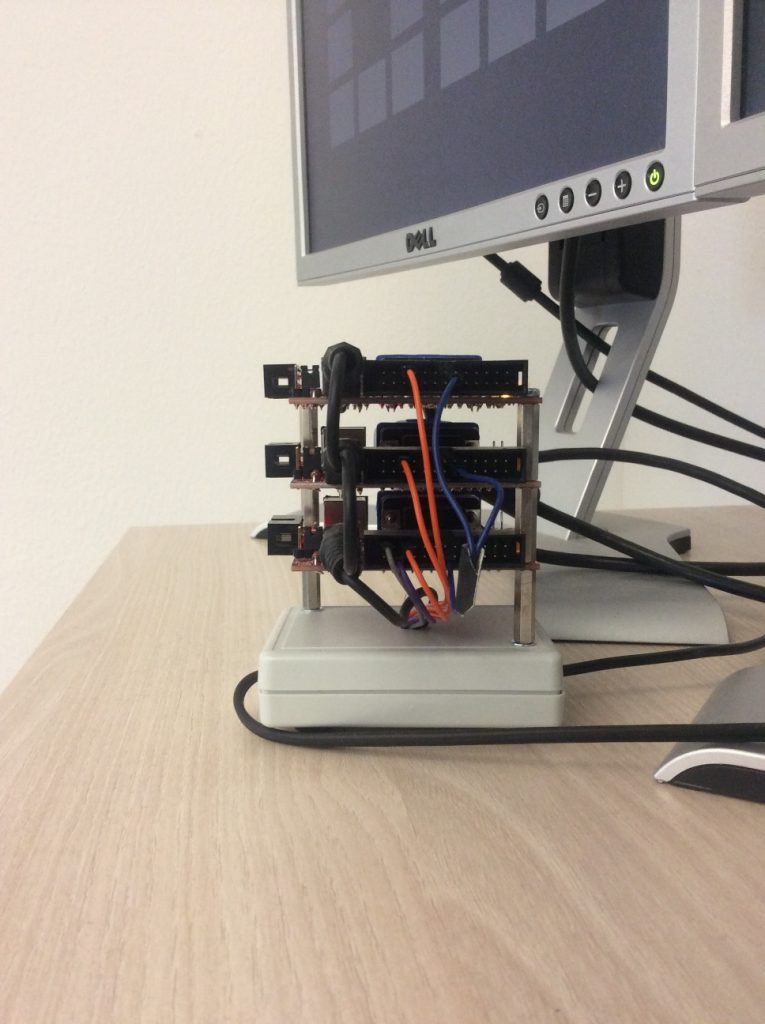
The three boards are connected to each other using their internal COM ports, two are just displayers and one is decoding the time from the received signal.
Prerequisites
This program uses V4.4B of the MMBasic language, so the DuinoMites have to be flashed with the most recent firmware.
Software
The code is divided in two parts – one for the displaying DuinoMites and the other one for the DCF77 receiving part.
DisplayDigitAndReceiveDCF
The code listens on the COM port and checks for “TT” which is the start of the time diagram. It extracts the respective digits and prints them on the screen. Please notice the 5 sec watchdog – sometimes the SD-cards have an issue and don’t load the images, which breaks the program – the watchdog will then reset the system and restart.
DisplaySecondAndSendDCF
This routine cycles every 50ms, checks for a time difference and then display the seconds part of it. It also sends the time to the other two DuinoMites. The CheckDCF77 routine is called in the background every 10ms.
CheckDCF77
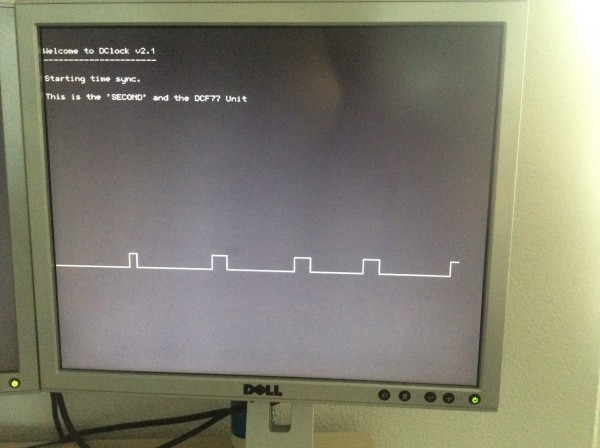
Input signal at startup Input signal at startup When waiting for the first complete diagram, the routine displays a fancy oscilloscope like graph of the input signal, which is very handy to find the right receiver position. Once it has a full telegram, it uses the internal DuinoMite clock and set it. There is a lot of code around error detection as the signal is often polluted.
Installation
To install, please copy the archive (including the pictures) to a blank SD-Card, one for each DuinoMite. For the hour and minute DuinoMites, you will have to edit the display mode parameter:
DisplayMode = 2 ‘ 0: HH, 1: MM, 2:SS
Connect the serial pins as described and go for it. Please try a bit around when positioning the receiver, the signal is very position dependent.
Where is the code?
Check out on GitHub
License
Use this code free of charge for private or educational uses. Ask for permission in case of commercial usage.
